
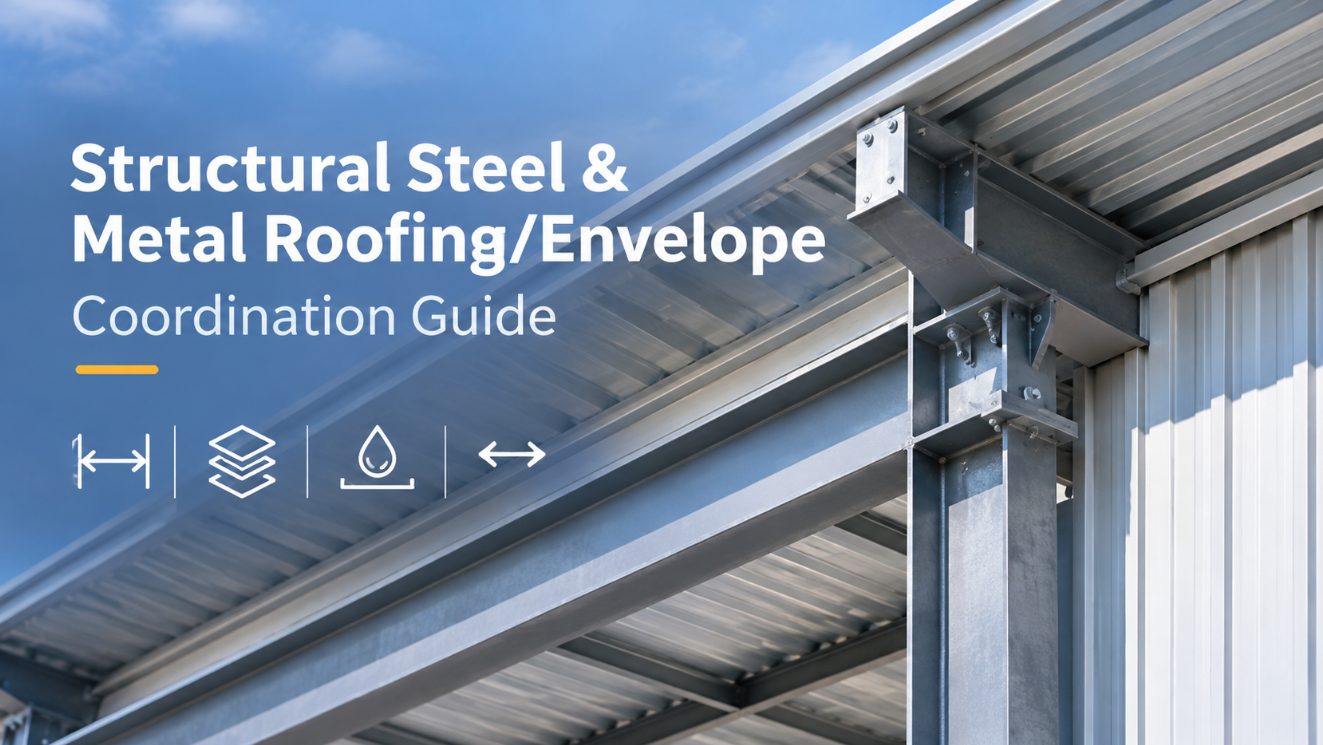
Why envelope problems usually start at the steel interface Metal roofing and steel envelope failures are often blamed on the cladding. In practice, many defects begin where the envelope meets the structural steel: purlin spacing, support elevation, connection tolerance, or the sequence in which trades close the building. A roof sheet can only perform as well as the frame beneath it allows. This guide is for buyers and engineers coordinating structural steel fabrication, steel structure construction, and steel enclosure work on the same building. It sets out the interface requirements to define before fabrication, the installation sequence that reduces rework, and the checks that show the envelope is ready to close. It is an application guide, not a report on any specific project. Define the envelope support interface before steel fabrication The cheapest time to solve a support conflict is before shop drawings are released. The envelope supplier needs a stable set of support conditions, and the steel fabricator needs to know which tolerances matter to the cladding. Hold a coordination review that fixes the following items in writing. Support geometry and spacing Purlin and rail spacing matched to the roofing and wall panel span capacity, including any snow, wind uplift, or maintenance load assumptions. Support elevation and slope for drainage, with the roof slope and valley or gutter positions agreed between the steel and envelope drawings. Purlin orientation and flange width so fasteners land in the intended zone rather than near a flange edge. Opening and penetration locations for roof lights, vents, and equipment curbs, with framing shown on both sets of drawings. Tolerances that matter to the cladding Structural steel erection tolerances and cladding tolerances are not the same thing. A frame that is acceptable structurally can still leave the envelope outside its adjustment range. Agree on project-specific limits for purlin straightness, elevation variation between adjacent supports, and diagonal squareness before erection begins. Where the cladding system has limited adjustment, state the tighter requirement explicitly on the steel drawings. Connection and fastener strategy Decide how the envelope is fixed to the steel and who supplies what. Typical questions include whether purlins are drilled or self-drilling fasteners are used, whether thermal movement is accommodated at fixed and sliding points, and which party owns the sealing washers and fastener lengths. Ambiguity here is a common source of water ingress and callbacks. Plan the installation sequence around closure and drainage Envelope integration is a sequencing problem as much as a detailing problem. The goal is to close the building against water as early as possible without trapping moisture or blocking later steel work. Complete and survey the support frame. Verify purlin spacing, elevation, and squareness before any sheet is lifted. Correct out-of-tolerance supports rather than compensating with the cladding. Install secondary steel and penetration framing. Roof curbs, plant supports, and opening frames should be in place and sealed before the main roof run is closed. Install underlay and insulation in sequence with the sheets. Keep the membrane continuous and lapped in the direction of water flow; avoid leaving open sections exposed to rain overnight where possible. Close the roof from the low point upward. Work in the direction that lets each sheet lap over the previous one, and keep gutters and outlets clear as work proceeds. Complete flashings and terminations before handover of the roof zone. Ridge, verge, eaves, and penetration flashings are part of the weatherproofing, not a finishing item. Install wall envelope after roof closure where access allows. This reduces water entry through wall openings and protects interior work. On large roofs, divide the work into closure zones so that a completed section can be signed off and protected while the next section proceeds. Control thermal movement and drainage at the same time Metal roofing moves with temperature, and long roof runs accumulate that movement. Fixed and sliding fastening details, expansion joints, and end laps must be set out so the sheet can move without opening a path for water. The same details affect drainage: a roof that ponds near a joint will find any weakness in the lap. Three practical rules help: Keep the roof slope and outlet capacity consistent with the drainage design, and confirm that gutter falls are achievable given the steel elevation tolerances. Locate expansion joints where they can be flashed reliably, not where they are hardest to access. Check that insulation and membrane do not bridge movement joints or block drainage paths. Verification checks before the envelope is closed Inspection should follow the work, not wait for completion. The following checks catch most integration problems while they are still cheap to fix. Check What to verify Why it matters Support survey Purlin spacing, elevation, and squareness against agreed limits Prevents sheet distortion and poor laps Fastener placement Fasteners in the correct zone, correct length, washers seated Reduces leaks and pull-through Lap and end detail Lap direction, end lap support, sealant or tape placement Controls water entry at joints Penetration flashing Curbs framed, sealed, and integrated with membrane Common leak location Drainage path Gutter fall, outlets clear, no ponding at joints Prevents standing water and corrosion Movement provision Fixed and sliding points as detailed Avoids tearing and opening of laps Record each check with location and date so that any later issue can be traced to a specific area and detail. Common failure patterns and how to avoid them Sheets fixed to out-of-line purlins When purlins are not in plane, sheets bridge or distort, and fasteners may not seat. The fix is at the frame: survey and correct before sheeting. Compensating with packers or longer fasteners rarely restores the intended performance. Penetrations added after roof closure Late equipment changes force field-cut openings that are hard to flash properly. Freeze penetration locations early, or require a reviewed flashing detail for any late addition. Blocked or undersized drainage Debris left in gutters during construction, or outlets that do not match the roof area, cause overflow that is often mistaken for a sheet leak. Protect outlets during work and test drainage before handover. Missing movement details Long sheets fixed rigidly at both ends can tear at fasteners or open laps as temperature changes. Confirm fixed and sliding points on the drawings and check them on site. What to ask a steel structure contractor or envelope supplier Use these questions to test whether the interface is genuinely coordinated or only appears to be on paper. Which support tolerances does your envelope system require, and are they shown on the steel drawings? Who is responsible for setting out penetration framing and curbs? How are thermal movement and expansion joints handled at ridges, eaves, and long runs? What is the inspection and sign-off sequence for each closure zone? How will drainage be tested, and what records will be provided? Clear answers to these questions are a better indicator of integration quality than a general statement of capability. Scope and limitations The checks above are general coordination principles. Actual requirements depend on the cladding system, roof geometry, local wind and snow loads, and the project specification. Where a manufacturer's installation instructions or a structural design sets a stricter requirement, that requirement governs. This guide does not replace project-specific engineering review.